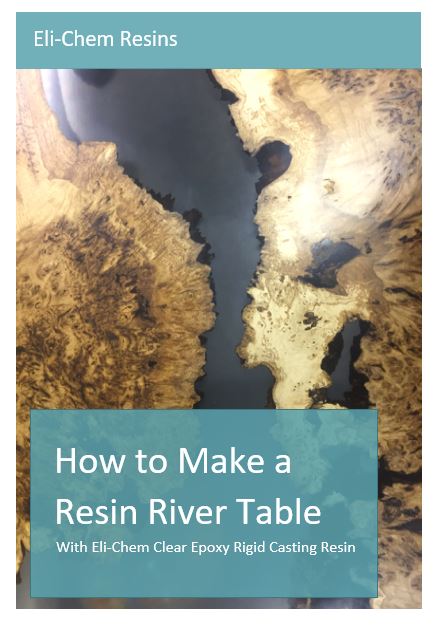
How To Make A Resin River Table
You will need
- Eli-Chem Clear Epoxy Rigid Casting Resin
- Length of wood with a waney edge and interesting grain
- Polypropylene or melamine sheet & release agent such as Macsil
- Heat gun
- Sander
- Mixing vessels
- Mixing sticks
- Polishing compound
- Safety equipment
Preparation
Ensure the wood is seasoned, dry and as flat as possible, a length of wood with a waney edge and interesting grain is ideal for this project.
If you do not have the tools to cut the piece of wood the supplier will be able to do this for you.
The piece of wood should be cut in half lengthways to create a river channel for the resin. Rub down any loose or flaking areas.
A dry, heated work area is essential for both the wood and the epoxy resin. During setup and throughout the curing time of the resin it is important to maintain a stable room temperature of at least 15°C but ideally 18-25°C. Cold or damp conditions may spoil the performance and appearance of the resin
Prepare & seal the wood to prevent air bubbles
When working with porous surfaces we recommended that you seal all surfaces of the wood with a brush coat of the mixed resin.
MasterCast or totalCAST can be used in a thin coating layer to seal the surfaces. This will seal and stabilise the surface, reducing the chances of air bubbles being emitted into the resin during the cure.
At the same time fill any knots or cracks. If the knots are over 5mm deep use Clear Epoxy Rigid Casting resin rather than MasterCast or totalCAST to ensure curing.
Leave this coat to dry but not completely cure. If the sealing coat is allowed to cure for more than 5 days then it must be lightly keyed with sand paper before pouring the rest of the resin or the two layers will not bond.
Set up a frame to contain the resin
Nearly all river table designs feature some areas of resin that have no support and these areas require supporting whilst the resin is poured and throughout curing. It is very important that the barriers are totally sealed otherwise the resin will leak out.
Start with a flat sheet for the timber to sit on, polypropylene or melamine plastics are commonly used materials as the resin will not stick to them. It will also leave a smooth finish on the cured resin. Next, cut lengths of polypropylene to create a barrier for the sides of the container. We also recommend a release agent such as Macsil or similar is used to make removal easier. It is recommended the frame is tested with water to ensure it won’t leak. Always ensure the container is completely dry again before pouring the resin.
Mix & tint the resin
Mixing of this two part epoxy resin system is critical and it is essential that the resin and hardener are mixed at the correct ratio. Incorrect mixing will result in a poor or partial cure of the resin. Pour the hardener first, then the resin. The combined liquids must be thoroughly mixed ensuring the sides and base of the mixing vessel are scraped well. Then transfer the mix to a second container and stir again to avoid any unmixed resin. Up to 12 litres of resin can be used in one pour, up to a depth of 25mm.
If you are adding a pigment weigh out enough resin for the whole project and add the pigment in one go to ensure even consistency. The pigmented resin and hardener can then be mixed and poured 12 litres at a time, up to 25mm depth.
If pigmenting we recommend resi-TINT Acrylic Pigments which have been specially formulated to work with our resins. These are highly concentrated pigments and very little additive is required. Always ensure addition rate is less than 10%. Eli-Glow photoluminescent powders can also be added which will glow in the dark for up to 8 hours with as little as 30 minutes exposure to daylight.
We also have metallic pigments and metallic powders which can be added to the resin before pouring.
River pour
Eli-Chem Clear Epoxy Rigid Casting Resin is a specifically developed resin for deep pours and generates very little exotherm. This allows the resin to be poured at any depth, the only restriction is the maximum of 12 litres per pour, 25mm deep per layer.